New Pi Setup
April 9, 2021 | StackInstall OS
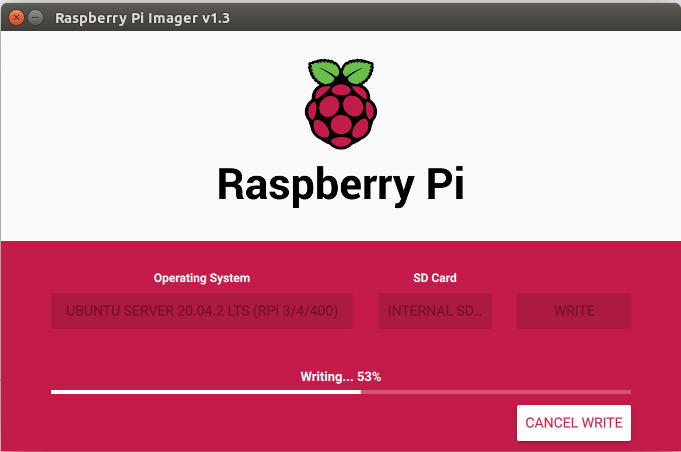
Install the Pi Imager tool from Raspberry Pi's homepage: https://www.raspberrypi.org/software/
Insert your SD-card in your PC, and select OS (choose an 64-bit version if you are running Rpi 3 < ) and SD-card and continue..
Headless setup (Only for Raspian OS)
Now, most of us don't have a micro-HDMI -> HDMI lying around (RPi4), and in general i prefer headless operations when working with servers. So, unless you plan to specific using your RPi4 for desptop work, make the following changes befor putting the SD-card in the Pi.
Find the "system-boot"/"boot" and make a blank file called "ssh" here.
Setup Wireless (If you need that)
Find the "system-boot" and open the file "network-config" and unmark the following lines:
wifis:
  wlan0:
    dhcp4: true
    optional: true
    access-points:
      myhomewifi:
        password: "S3kr1t"
Boot the Pi
Now boot the Pi with the SD-card and locate the IP address. I prefer nmap:
nmap 192.168.1.1/24 (or what ever the netmask is on you network)
So, now you have your IP.
SSH into the pi (user:ubuntu, pass: ubuntu) to make some changes and setup Docker Swarm.
General changes
Default you get prompted to change password on first boot, do that.
secondly you want to make key exchange with all nodes (Swarm related) and you might want to do the same on the PC.
PC -> Pi
Pi (master node) -> Pi (agents/slaves/workers)
Follow the instructions here: https://thehotelhero.com/ssh-key-exchange
Hostname
Change these two files to setup hostname:
edit the following /etc/hosts to include the hostname (127.0.1.1 pi1):
127.0.0.1 localhost
127.0.1.1 pi1
# The following lines are desirable for IPv6 capable hosts
::1 ip6-localhost ip6-loopback
fe00::0 ip6-localnet
ff00::0 ip6-mcastprefix
ff02::1 ip6-allnodes
ff02::2 ip6-allrouters
ff02::3 ip6-allhosts
and edit /etc/hostname and change it to "pi1" (or what ever name you will give it).
Depending on your router, DNS can in some circumstances be a bit tricky on Ubuntu ARM. Follow this instruction if you experience troubles: https://thehotelhero.com/ubuntu-for-pi-arm-mdns
Static IP (Ubuntu Pi)
In Ubuntu Pi use Netplan to set the IP, navigate to /etc/netplan:
ls /etc/netplanAnd edit the file in there to something similar to this (make sure the ip-addresses ar correct, and network interface "eth0" should be the correct one):
network:
    renderer: networkd
    ethernets:
        eth0:
            dhcp4: no
            optional: true
            addresses: [192.168.1.121/24]
            gateway4: 192.168.1.1
            nameservers:
              addresses: [1.1.1.1,1.0.0.1]
    version: 2
and apply the changes (make sure to double check every thing, you can end up with a Pi that is not accessible on the network interfaces if you fuck it up, like I did by mistake the other day.)
So, test the configuration and attempt to login from another terminal session:
sudo netplan tryStatic IP (Raspian)
On Raspian OS edit the file /etc/dhcpcd.conf:
sudo nano /etc/dhcpcd.confand change it to something similar:
interface eth0
static ip_address=192.168.1.121/24
static routers=192.168.1.1
static domain_name_servers=192.168.1.1
Conclusion
Basically the above steps, are what I use when setting up Pi's no matter what I am planing for as use case. In this way you get a secure access, a static IP and a hostname.
Things to consider as addition to the above is setting, could be firewall setup or VNC viewer if you have choosen a GUI OS.